Living in a tent for months isn’t about roughing it — it’s about building a calm, reliable routine in a space that feels like home. The right shelter should hold its shape in bad weather, breathe well to control condensation, and offer standing height and clean zoning for daily tasks. With premium materials and thoughtful engineering, RBM Outdoors focuses on predictable comfort and safety, so your setup stays warm, quiet, and organized through every season without constant tinkering.
Choosing a shelter that’s made for living, not just sleeping
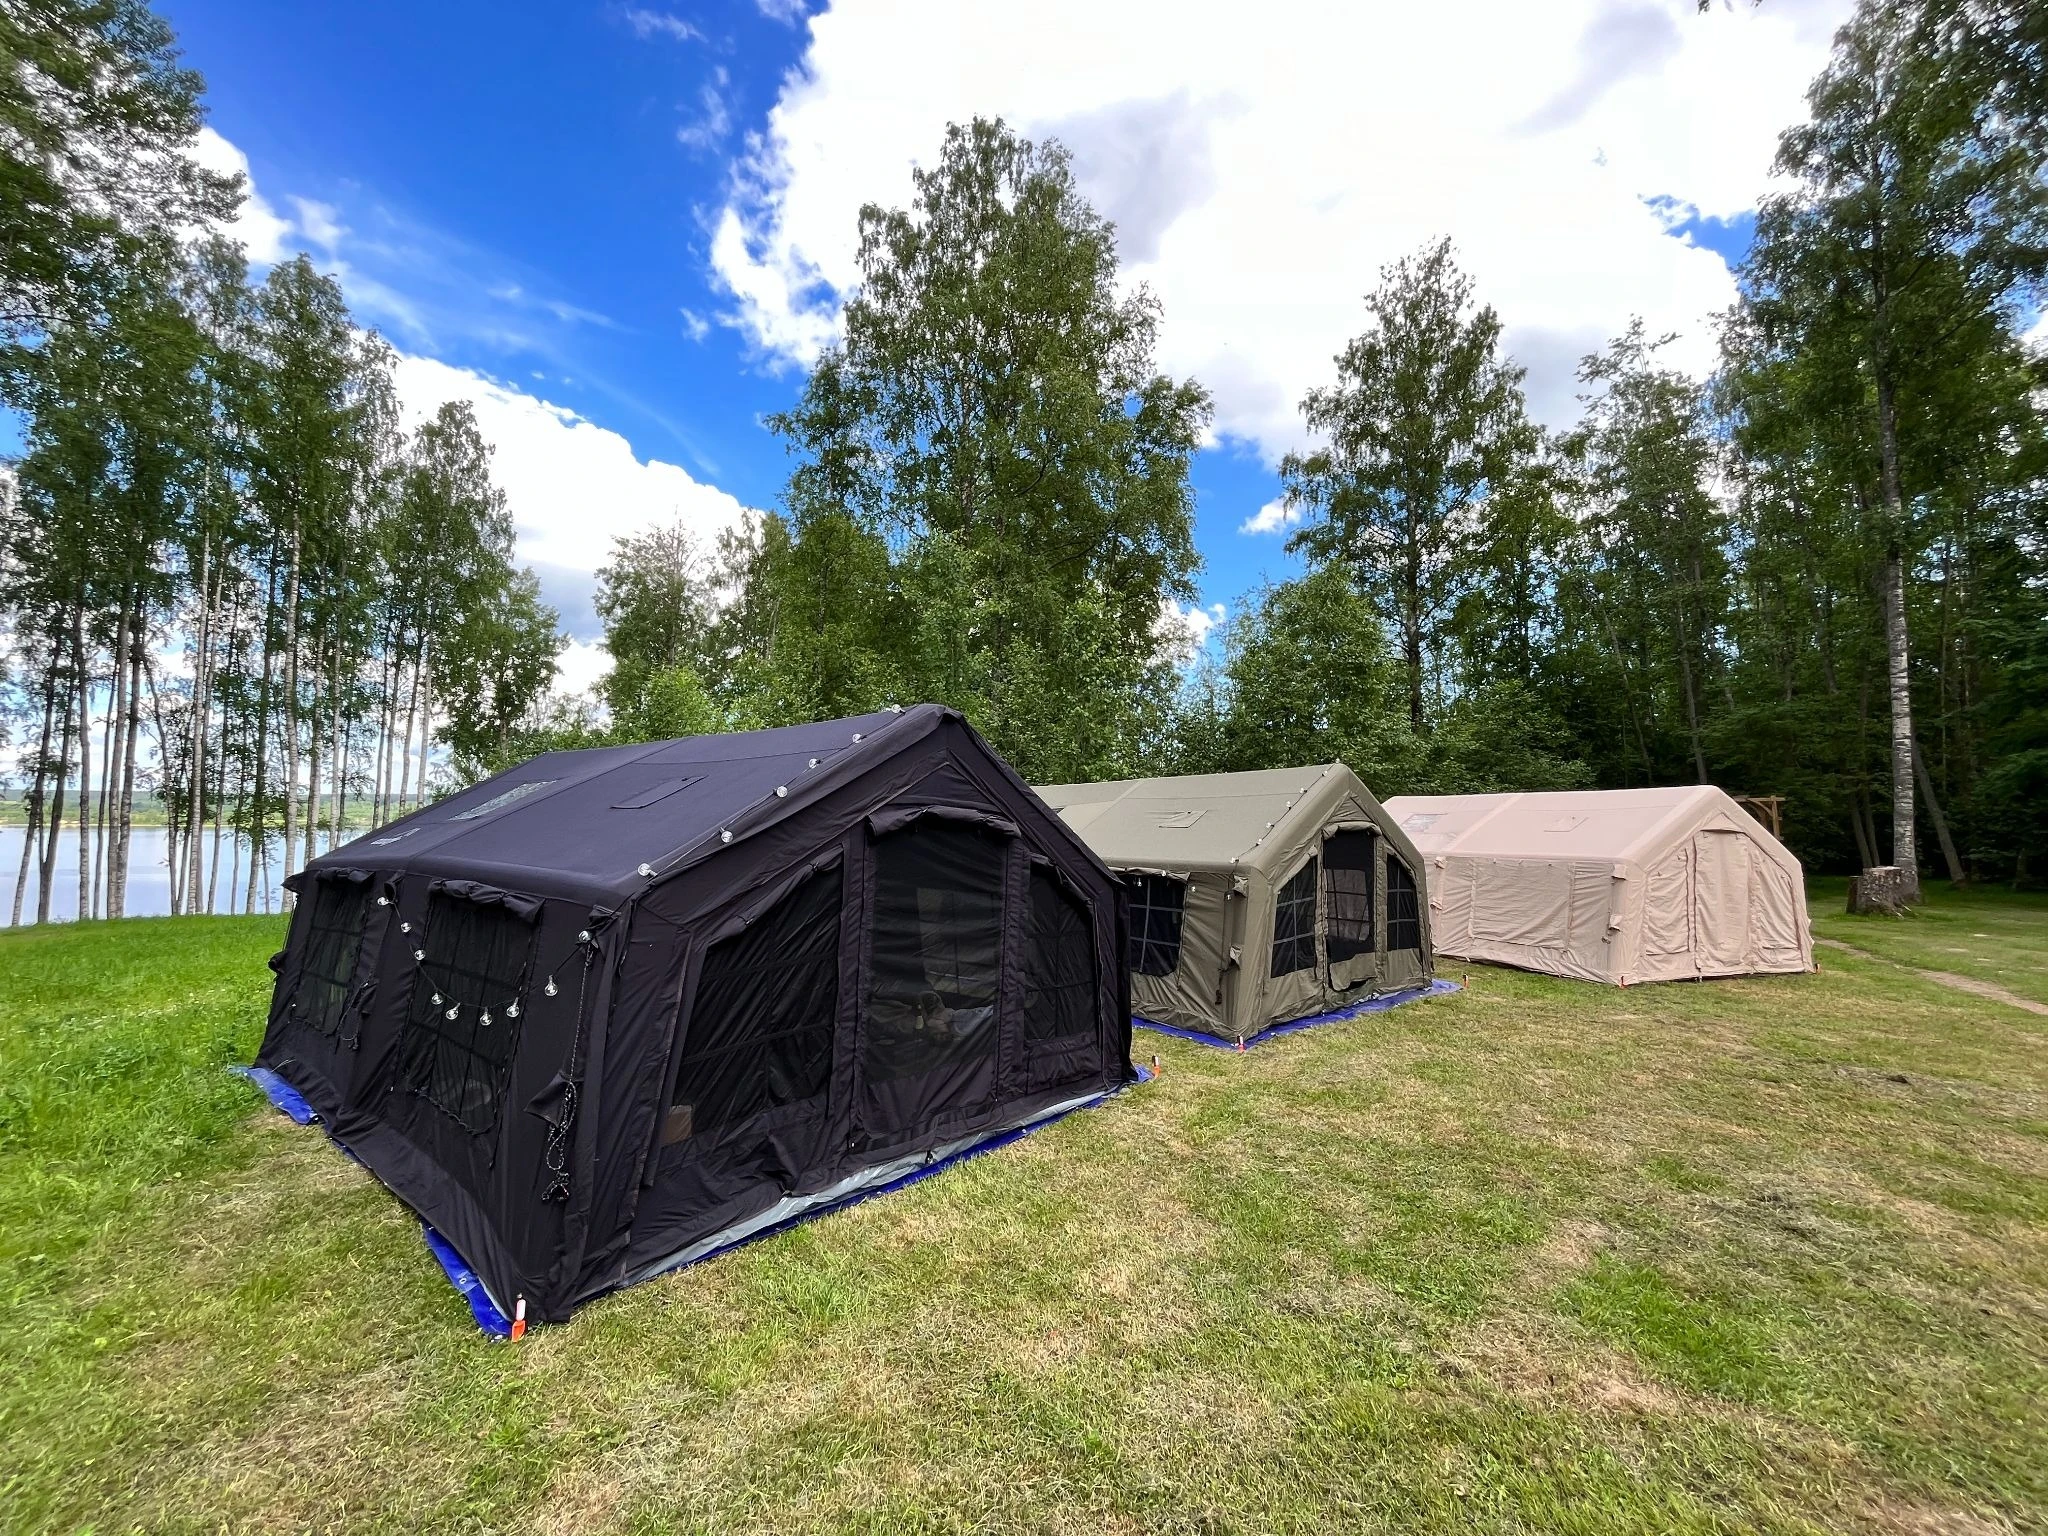
Long stays demand more than a weekend dome. You need standing height for real chores, rigid weather discipline, and a frame that keeps tension day after day. Start with a clear overview of the lineup and selection logic here: camping tent — it outlines construction, stove-ready details, and layout choices for long-term use. If you’re planning for a group or want extra room for a drying corner and safe heater clearances, consider an 8 people tent with wide doors and a stable, multi-point guying pattern. For cold regions, shortlist from the best tent for winter camping category to ensure four-season fabrics, dependable ventilation, and sensible snow and wind handling.
Focus on qualities that pay off over months, not just nights: double-stitched stress points, a floor that blocks ground moisture, smooth-running zippers, and repairability with standard patches and spare lines. Prioritize large vents high and low to control condensation, vestibules that keep mud outside living zones, and interior geometry that allows clean zoning for sleep, cooking, storage, and drying. A premium shelter feels quiet in wind, sheds weather instead of fighting it, and lets you maintain comfort with simple, repeatable routines.
Safety first: heat, ventilation, and daily routines
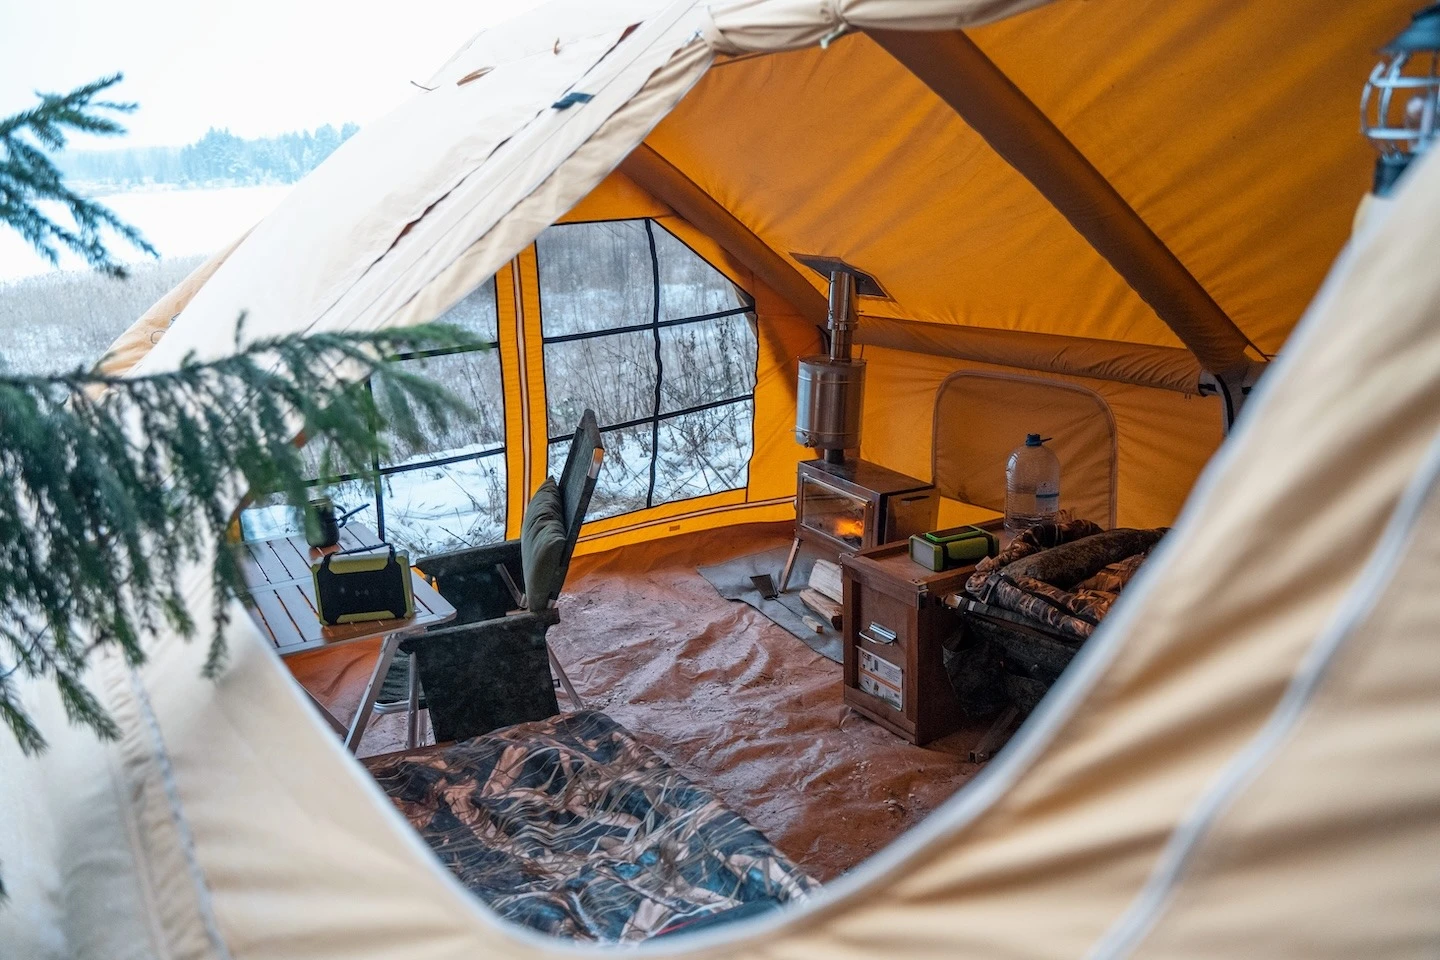
Treat your tent like a small home with strict rules. If you heat the space, use a heater approved for enclosed areas, maintain clearances on all sides, add heat shields where fabric could warm, and route exhaust safely. Install a carbon-monoxide alarm and keep a fire extinguisher by the main exit. Make it a habit to run a quick check morning and night: fuel level, vent position, flue condition, and ash disposal only when fully cold.
Ventilation is non-negotiable for long stays. Create a low intake and a high exhaust path so moist air leaves even in winter. Crack vents during cooking and drying, and keep bedding off exterior walls to avoid cold-surface condensation. A small fan near an upper vent can move steam out without big heat loss.
Write a simple routine and stick to it. Wipe down high-moisture areas after meals, hang wet layers in a dedicated drying corner with a drip tray, and sweep grit before it grinds into the floor. Log temperature, condensation, and fuel use for a week; those notes will tell you how to fine-tune airflow and heat for steady comfort.
Weatherproof thinking for four seasons
Start at the ground. Choose high, firm terrain with natural wind breaks, then lay a heavy groundsheet that extends slightly beyond the floor to stop splashback. Face doors away from the prevailing wind and pre-tension every guy point so the shell keeps its shape when weather shifts.
Treat tension as your first line of defense. Well-set stakes and storm guys from high points stop fabric pump and seam strain better than fabric ratings alone. In rain, check for sag and re-tension before night. In snow, clear buildup before it bridges; in freezing rain, break ice gently so panels don’t load and stretch. Carry mixed stakes—long for sand and thaw, narrow for rocky soil—and a few extra guy lines for cross-bracing key arches.
Protect the shell and closures. Keep zippers clean and lightly lubricated, shield high-wear corners with patches before they fray, and inspect seam tape after big temperature swings. Inside, pair controlled ventilation with thermal measures: rugs and insulated underlay cut ground chill, while a modest inner liner reduces cold-surface contact and helps manage condensation. A short “storm routine”—pre-check tension, stage tools and spares, secure loose gear, post-check seams and anchors—turns rough fronts into predictable maintenance rather than emergencies.
Utilities that make a camp feel like home
Power deserves a plan, not guesses. List daily loads—lighting, charging, pump, fans—and size solar and batteries to at least 1.2–1.5× that number for cloudy days. Use an mppt controller, fuse every circuit, and route outdoor-rated cables with strain relief where they enter the tent. Keep batteries off the ground on an insulated platform with airflow, and label lines so troubleshooting is quick in bad weather.
Water and sanitation work best as repeatable routines. Rotate and date containers, filter at intake, and insulate jugs or lines in freezing conditions. Set a simple grey-water protocol that matches local rules: strain solids, use biodegradable soaps, and disperse or collect runoff as required. Choose a sealed sanitation solution you can service cleanly on a fixed cadence; store hygiene items together so hand-wash, dish care, and drying never drift into living zones.
Build quiet comfort into the system. Use low-draw lights with diffusers, a fan near a high vent to pull steam during cooking, and floor rugs to cut ground chill. Pack redundancy—spare fuses, cables, water treatment tablets, and one independent lantern—so a minor failure never becomes a scramble. A clear utility map and a five-minute end-of-day check keep the camp steady, warm, and calm.
Layouts that reduce stress day to day
Design the inside like a small apartment. Create a dry entry with a mat, hooks for outer layers, and a bench for boots. Keep a clear walkway from door to sleeping zone so you can move at night without brushing cold walls.
Split the interior into four simple zones: sleep, cooking, storage, and drying. Place the kitchen surface near a vent or window; stage a fan at the high vent for steam. Use vertical storage—hanging shelves, mesh pockets, stackable bins—to lift gear off the floor and improve airflow. Label containers for tools, first aid, cleaning, and spares so you can find items in low light.
Keep bedding off exterior fabric to reduce cold-surface condensation. Add a soft barrier at head level and use rugs or insulated underlay in high-traffic areas. Set a dedicated drying corner with a line, drip tray, and airflow path; this keeps moisture from migrating across the living space.
End each day with a five-minute reset: sweep grit, air bedding, dry the entry mat, return tools, and check vents. Small, repeatable habits are what turn a tent into a calm, predictable home.
A calm finish: turning a tent into a steady home
Long-term comfort is the result of deliberate choices and small routines, not luck. Pick a shelter that keeps its shape, manage heat and airflow like a system, and keep zones tidy so daily tasks stay effortless. When structure, ventilation, and habit work together, the space grows quiet and predictable — a steady home you can trust in any season.